
 Español
 Deutsch
 Français
 Italiano
 Português
 中文
 日本語
 한국어



No developer needed
Everything is done from your Tag Manager container, in five minutes.
If you already manage your tags in Google Tag Manager, add Overtracking as one more tag, with no changes to your website’s code.
Everything is done from your Tag Manager container, in five minutes.
Preview it, pause it or go back to an earlier version of the container whenever you want.
Reuse the triggers you already have to fire Overtracking goals with _ovt().
Add your website in the app and copy the code from Settings → General → Tracking code.
<script>!function(w,d,s,u){var t=d.createElement(s);t.async=1;t.src=u;var f=d.getElementsByTagName(s)[0];f.parentNode.insertBefore(t,f);}(window,document,'script','https://cdn.overtracking.com/t/tYOUR_CODE/');</script>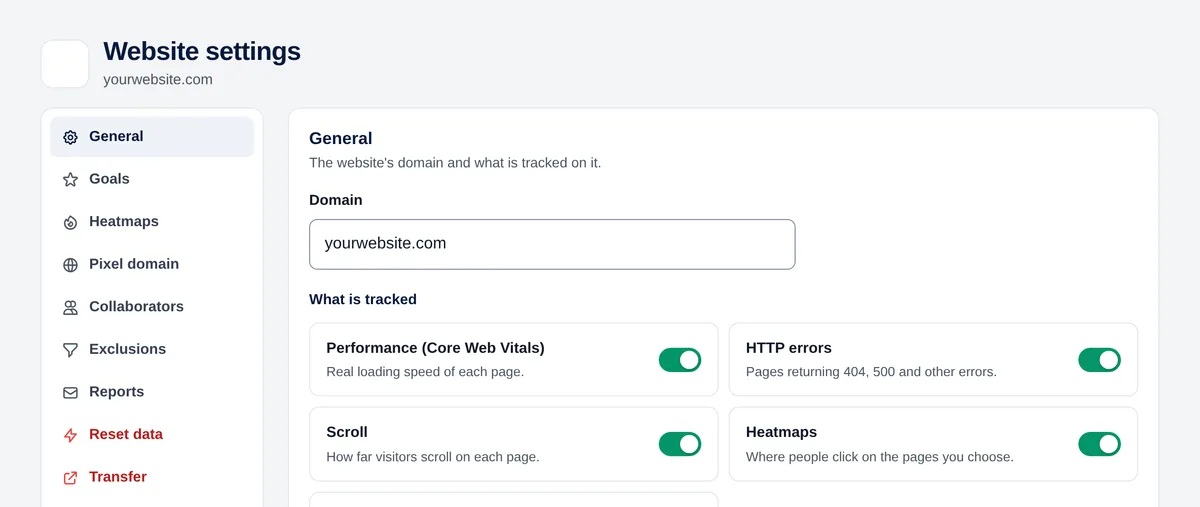
In Tag Manager, go to Tags → New → Tag configuration → “Custom HTML” and paste the code.
In Triggering, choose “All Pages” and save the tag.
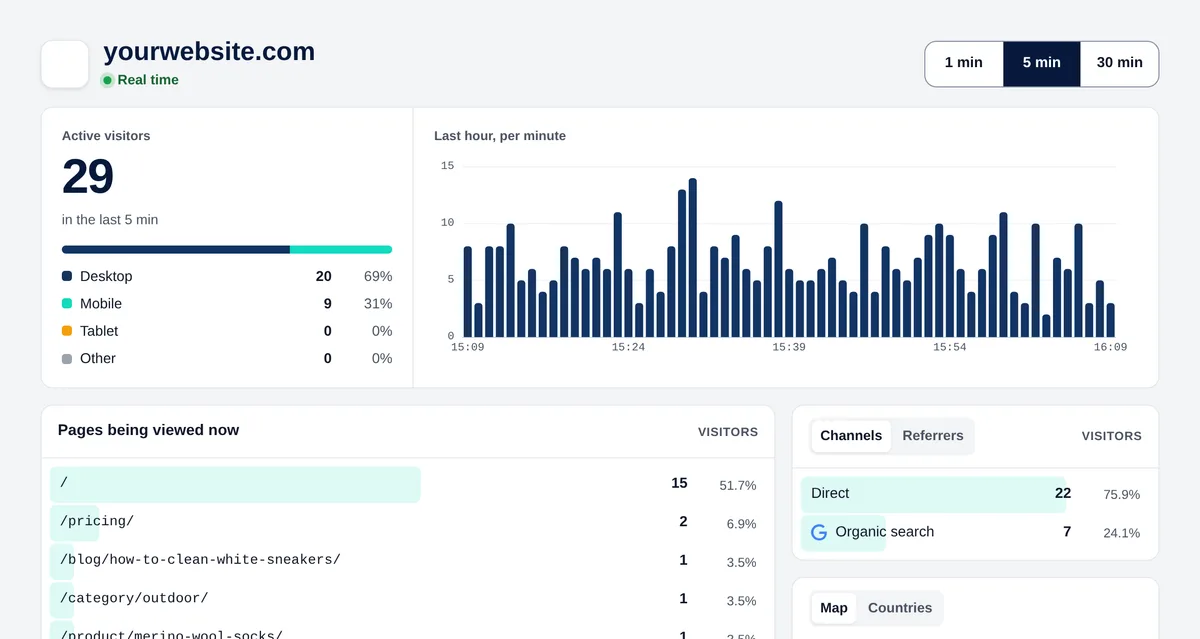
Use “Preview” to check that the tag fires, then click “Submit” to publish. Your visit appears in Real time in Overtracking.
No. The Overtracking tag works on its own, with no variables or dataLayer.
Overtracking doesn’t set cookies or store IP addresses, so you can fire it on all pages from the first visit.
Yes. Create a custom goal in Overtracking and a Custom HTML tag with <script>_ovt('your_key');</script> on the trigger you want.
Try it free for 7 days. No cookies, no banners, no credit card.
Start your free trial


